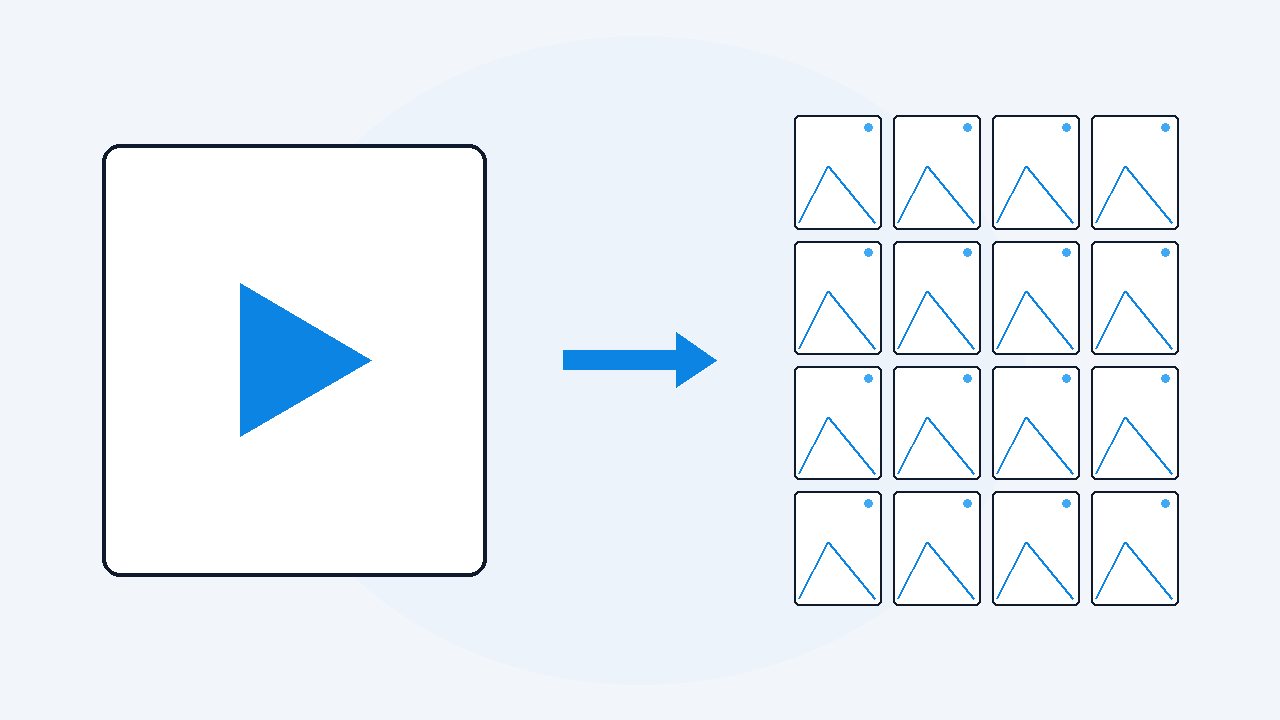
How to extract frames from a video on a Mac
You want pictures from a video, and a Mac can export one video frame at a time. You open Photos and drag the playhead to the moment you want, then you choose File, Export, Export Frame to Pictures, and you get a single TIFF named by today's date. If you want more than a few frames you will need ffmpeg in Terminal, or an app that saves the whole video as timestamped images. VideoDoc does the second thing, but it only works on Apple Silicon Macs.
You might be on a Mac and looking to get pictures out of a video instead of words. By now you have probably seen the one thing your Mac can do by itself. You open the video in Photos and drag the playhead to the moment you want, and then you click File, Export, Export Frame to Pictures. It works and it is free, and the tool is already sitting on your machine.
The problem starts the second time you do this. This way gives you exactly one image every time you try, and the file is a TIFF called Frame plus today's date, which lands in your Pictures folder. The file name does not tell you which moment of the video it came from. So if you do this forty times while taking notes on a tutorial, you end up with forty names that look almost the same and you have no way to tell them apart.
I will give you the answer before the details. A Mac cannot save more than one frame at a time on its own. Photos, QuickTime Player and Preview are all made to help you pick one good still image out of a video, and none of them have a button to save every frame. When you want more than a few frames you have to choose between a Terminal command and an app, and I explain both of those below.
What can a Mac do on its own, and where does it stop?
Apple provides their own instructions for this and they are four lines long. That tells you roughly how much this feature is meant to do. The steps I show below are Apple's documented route, and this is the cleanest of the free choices.
- You open the video in Photos and drag the playhead to the frame you want.
- You choose File, and then Export, and then Export Frame to Pictures.
- The image goes into your Pictures folder as a TIFF called Frame along with the date.
QuickTime Player gets you to the same result by a longer path. You pause on the frame, choose Edit and then Copy (or press Cmd+C), open Preview, and choose File then New from Clipboard, and then Preview saves it in whatever format you want. Both of these ways are perfectly fine when you just want one picture from a video. I still use the QuickTime method myself for exactly that reason.
The problem with these tools is repetition. You cannot tell either of them to keep saving pictures, and you cannot make the file name record the moment the picture came from. A TIFF is also a large file, which is often several megabytes for a single 1080p frame. So if you have a folder of a few hundred of them, it gets very large very quickly.
How do you get every frame for free, using ffmpeg?
The tool that actually does this job on every operating system is called ffmpeg, and it is free. It is not installed on your Mac by default, and most guides do not mention that part. You install it using Homebrew, which is a tool for managing software packages that you have to install first, and Homebrew needs Apple's command line developer tools, which means another download. If you do not want to use Homebrew, the ffmpeg download page lists the macOS options.
When it is installed the command is just one line, and it is better to understand it instead of just pasting it. The command ffmpeg -i lecture.mp4 -vf fps=4 frame_%05d.jpg reads your video, samples it four times a second, and writes numbered JPEGs into your current folder. Here fps=4 is the sampling rate, meaning it takes four pictures for every second of video. The %05d part is a counter that adds zeros to make it five digits, so the files sort neatly in Finder.
What you do not get is the exact time in the file name. A name like frame_00214.jpg only tells you it was the 214th picture, so you have to divide by your sampling rate every time to find out where it came from. The command also saves every duplicate picture, and this is a bigger problem than it seems. If a slide sits still for two minutes you get 480 identical JPEGs, and ffmpeg will write every single one of those 480 files.
Which of the three routes fits what you are doing?
| Route | Frames per go | What the file name tells you | What you need first | Cost |
|---|---|---|---|---|
| Photos or QuickTime | One | The day you exported it | Nothing, it is already installed | Free |
| ffmpeg in Terminal | All of them | A counter, not a moment | Homebrew, developer tools, one command | Free |
| VideoDoc | All of them | The exact moment, to the hundredth of a second | An Apple Silicon Mac and one pasted Terminal line | Free to try, one payment for Pro |
When you just need one still picture for a message or a thumbnail, the first row is the right answer and buying anything would be silly. If you are comfortable using Terminal and you only need the pictures in order, the second row costs nothing but your time that afternoon. The third row exists because of the problems listed in the middle column.
How does VideoDoc handle this on a Mac?
I build the tool called VideoDoc, so you should keep that in mind as you read this section. It is a normal app on a Mac that you double-click to open. Saving frames is one of the three options you pick at the top, along with a document for AI, or just the video file, or every frame as images. If you pick the third option it saves the entire video as pictures and stops without making a transcript, and this makes it much faster because processing the audio is always the slow part of the work.
- You drop in a video file from your Mac, or you paste a public link.
- You choose Every frame as images, and then you pick 4, 2 or 1 a second. Before it starts, the app tells you how many images that will be per minute and per hour.
- The folder appears with every picture named by its exact moment, like
frame_000123_00h01m45.50s.jpg. It also includes a file calledframes_index.csvthat lists every single picture.
There are two things in this process that explain why I built the tool this way. The file name carries the timestamp, so you can read the exact moment of a picture right in Finder without opening any files. The tool also drops identical frames as it works. When an image is a pixel for pixel copy of the one before it, only the first one is kept, so on a slide deck or a screen recording you throw away most of the pictures without losing anything that actually changed.
Your Mac documents are saved in your home folder under VideoDoc, so you can find them easily later on. The whole process runs locally on your own machine. The very first time you launch it the app downloads the speech engine, which is up to about 500 MB. After that first download, your own files work fine with no internet connection at all.
VideoDoc on Mac needs Apple Silicon, like an M1 or newer, and there is no Intel Mac build. I want to tell you this plainly so you do not buy it and find out later. Apple blocks apps that are not registered with them, and registration costs $99 a year, which this tool has not earned yet, so the first launch needs one pasted Terminal line, once, explained on the Mac setup page. Links work for public videos only, and if what you are capturing genuinely changes in every frame, duplicate removal will give you back almost nothing because there was nothing repeated to remove.
Try it on a video already sitting on your Mac.
Free in your browser to see what the output looks like. The Mac app is Apple Silicon, M1 or newer, and Pro is one payment for a lifetime licence that covers 2 machines.
How many images is that, and will they fit on your Mac?
People usually ask this question after the job has already filled their hard drive, so it is better to do the math beforehand. If you choose four frames a second, a minute of video gives you about 240 images, ten minutes gives about 2,400, and an hour gives about 14,400. When you drop down to one frame a second, those same numbers become 60, 600 and 3,600.
The size of the files depends on what you have on the screen. A 1080p JPEG of a slide usually sits somewhere between 100 and 300 KB, so an hour of lecture at four frames a second runs well into the gigabytes before the app removes anything. If you are recording a slide deck, dropping duplicates will usually give most of that space back. A slide that sits still for two minutes is just one picture repeated 480 times.
A good habit is to match your sampling rate to the thing you are actually capturing. Four frames a second is meant for something that moves, like a code editor being typed in or a demo being clicked through. One frame a second is plenty for a talk with slides, and it leaves you with a quarter of the files. There is no prize for having a bigger folder.
The sources for this are Apple's Photos User Guide page "Export a still photo from a video on Mac", the ffmpeg project's own download page and Homebrew's install page, and I have linked all of those above. The VideoDoc behaviour I describe here comes from its changelog, covering versions 0.1.20, 0.1.21 and 0.3.0.
Quick questions
Can QuickTime export all the frames of a video?
No. QuickTime Player can copy the single frame you are paused on, which you then paste into Preview and save, so it is one image per go. Saving a whole video as images needs ffmpeg in Terminal or an app built for that job.
Where does a Mac save an exported video frame?
Photos writes it into your Pictures folder as a TIFF named Frame followed by the export date. That name records the day you exported it, not the moment in the video it came from.
Do I need Terminal to extract frames from a video on a Mac?
Only for the ffmpeg route. Photos and QuickTime need no Terminal at all, and VideoDoc needs one pasted line on first launch and then never again.
Does this work on an Intel Mac?
The free routes do. Photos, QuickTime and ffmpeg all run on Intel Macs. VideoDoc does not, because its Mac build is Apple Silicon only, M1 or newer.
You should open the video you keep scrubbing back and forth through, and decide if you need one frame or all of them. Then you can go ahead and do that job tonight.

I am a telecom engineer and business analyst from Pakistan, and I build small honest desktop tools under Designesh. I made VideoDoc because I wanted my AI to read the lectures I study from. Everything here is tested on my own machine first.